Linux下安装zsh

目录
警告
本文最后更新于 2022-02-23,文中内容可能已过时。
以官方文档为准
安装oh-my-zsh前的准备:
- A Unix-like operating system: macOS, Linux, BSD. On Windows: WSL2 is preferred, but cygwin or msys also mostly work.
- Zsh should be installed (v4.3.9 or more recent is fine but we prefer 5.0.8 and newer). If not pre-installed (run
zsh --versionto confirm), check the following wiki instructions here: Installing ZSH curlorwgetshould be installedgitshould be installed (recommended v2.4.11 or higher)
1.Ubuntu安装zsh
其他系统自行查看:Installing ZSH
|
|
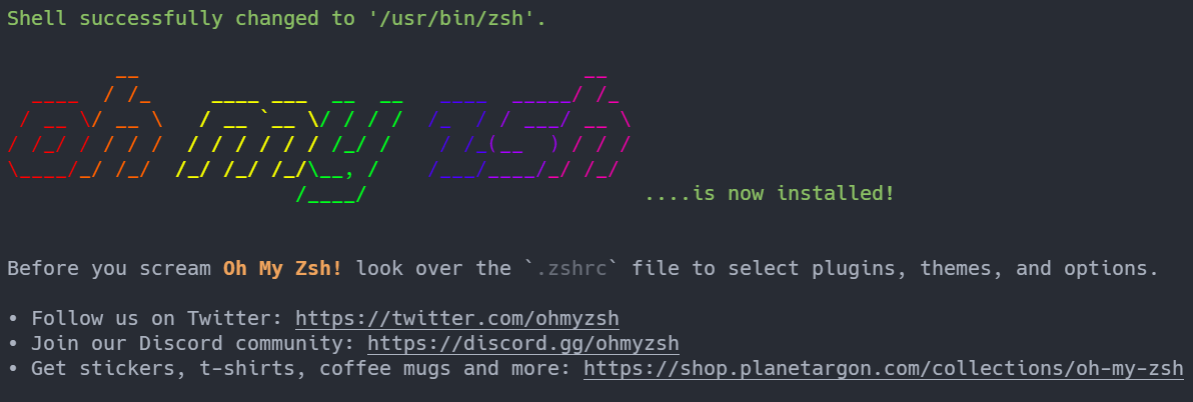
2.安装oh-my-zsh
github地址:https://github.com/ohmyzsh/ohmyzsh
|
|

3.修改主题
使用vim打开.zshrc配置文件
|
|
修改主题为ZSH_THEME="ys"

退出zsh,重新进入zsh即可生效
4.安装插件
在~/.oh-my-zsh/plugins中可以看到所有自带的插件,将插件名称添加到.zshrc中plugin字段中.
例如:
|
|
安装第三方插件
以安装zsh-autosuggestions举例,插件地址在:https://github.com/zsh-users/zsh-autosuggestions
将该项目直接克隆到plugins文件夹下
|
|
最后将插件名称添加到.zshrc中plugin字段中.
|
|
退出zsh,重新进入zsh即可生效
